Configure General Settings
Click Tools >> Settings >> General.
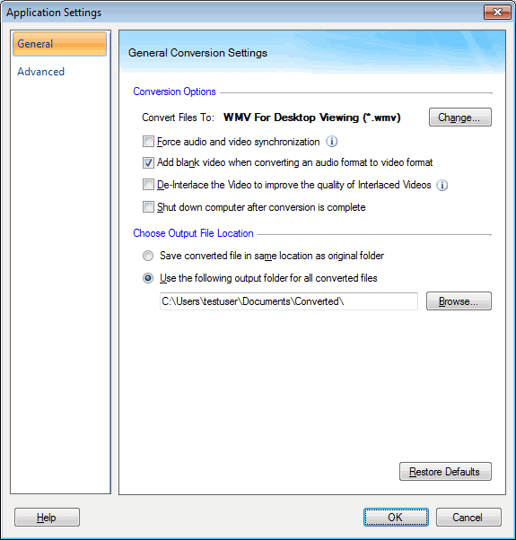
Conversion Options
Your media files are by default converted to WMV format. You can choose a different format for your converted files by clicking the Change button.
Enable the option Force audio and video synchronization if the audio and video of converted files are not synchronized. Since the setting is applied to every file in the conversion list, it is a good idea to select only files that you know have synchronization problems and convert them.
When converting a audio file to a video format, since there are no images, a blank video is added to the output file.
Note: Some players cannot play audio in video format files which contain no video at all.
Interlaced videos are high quality recorded videos with low bandwidth. But interlaced videos exhibits motion artifacts when two fields are combined and displayed at the same moment. Some video file types from the television and video cameras are interlaced. When played on a computer, interlaced video can be less sharper than non-interlaced. Enable the option De-interlace the Video to improve the quality of Interlaced Videos for maximum sharpness while you are converting an interlaced video to another format.
Note: De-interlacing video that is not interlaced reduces the quality, so do not use this feature on non-interlaced video files.
You can choose to automatically turn off your computer after the conversion by enabling the option Shut down computer after conversion is complete. Now you don't have to wait till long files are converted.
Choose Output File Location
Save converted file in same location as original folder: All the files that you convert to a different format will be saved in the same folder along with the original files.
Use the following output folder for all converted files: By default, this option is selected. All your converted files will be saved in Documents in a folder named Converted. To change the folder either type the path or click on Browse.
|