Changing General Settings
Click Tools >> Settings >> General to enable the following features:
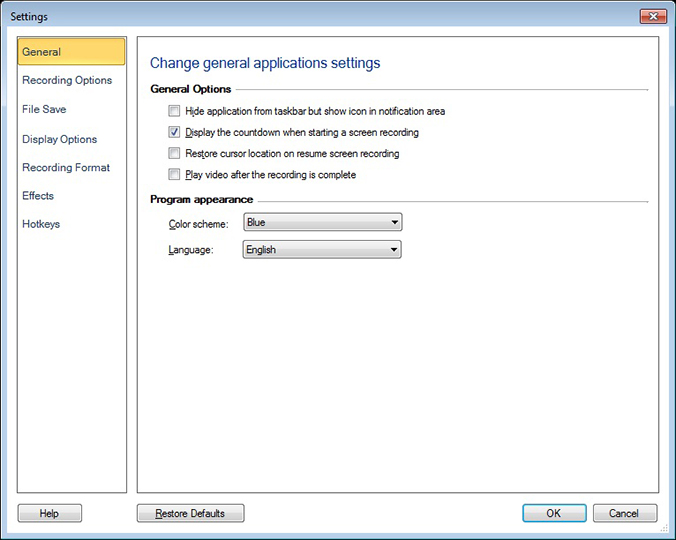
General Options
To run the application in the background without indicating that the recording is being performed, use Hide application from taskbar but show icon in notification area option. The application when minimized does not appear in the task bar, but as a system tray icon. You can access the main functions like record, pause, resume, and stop from the system tray without having to access the main application user interface. You can restore the application window at anytime just by double clicking the system tray icon.
If you would like preparation time before recording starts, select to Display a countdown when starting a screen recording.
If you want to resume and continue recording from the location where you have paused then select Restore cursor location on resume screen recording.
If you want to play a recording immediately after saving it then select Play video after the recording is complete.
Program Appearance
-
The theme is the appearance of the application window. You can apply different color coordinated themes using the Color Scheme dropdown list, to make the application look more appealing. The default color scheme is Blue.
-
The language in which the application interface is displayed can be changed using the Language dropdown. When the language is changed, the Menus, Dialog boxes and Window titles will be displayed in the selected language.
|