| Auto FTP Manager: Mail Settings |
Mail Settings
If you want to always know the status of scheduled transfers, you can have Auto FTP Manager send you a copy of the Transfer Log after each Scheduled Transfer is completed.
To receive copies of all Transfer Logs as email attachments, check Enable e-mailing of Transfer Log.
Enter an email address in the From: area. This is the address that the mailed Transfer Logs will be received from. Whatever email address you enter in the To: area is the one that will receive the messages. You can put multiple addresses in this area, separated by commas, if you would like more than one person to receive the logs.
Auto FTP Manager sends email using an outgoing mail server. All ISPs should provide configuration instructions for sending and receiving e-mail using an e-mail client like Microsoft Outlook. The instructions also contain the address of the outgoing (SMTP) mail server. Enter this in the Outgoing Mail Server area.
In the Mail Server Port box, specify the name or address of the outgoing mail server. Most outgoing mail servers use Port 25. If your ISP's mail server uses a different port then specify it in the Outgoing Mail Server Port box.
Some mail servers require Secure Socket Layer (SSL) encryption on all sent mail. If your server requires SSL, check This server requires a secure connection (SSL). This type of protection is also sometimes referred to as "TLS".
If the outgoing mail server requires to you to log in before sending e-mails then check the My Outgoing Mail Server requires login option. Specify login information in the Account Name and Password boxes.
Figure 1 shows valid mail settings:
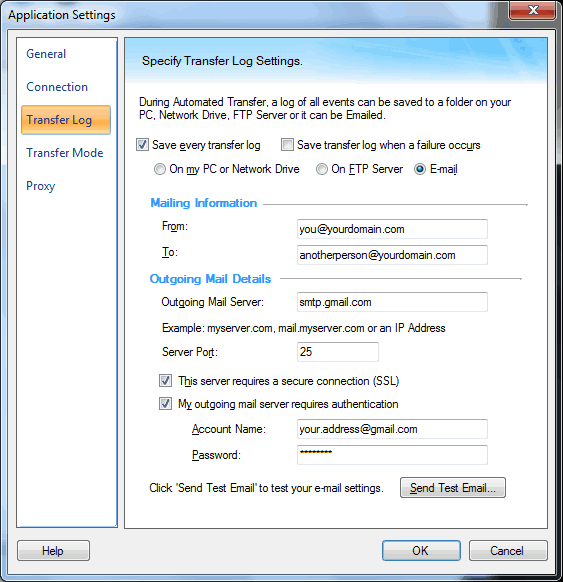
Figure 1
Testing Email Settings
To test the mail settings, press Send Test Email. To view the log generated when sending a test e-mail, click View E-mail Log. You can use the e-mail log to diagnose e-mail related problems.
|