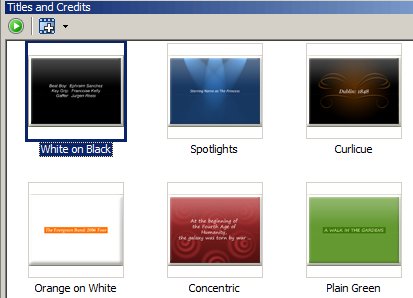
Title and Credits Collection
The Title and Credits Collection displays all the templates that you can use to add text to your movie.
You can open the Collection in several way: click on the View menu and then Titles and Credits, use the Ctrl + 4 keys, or click on the Titles and Credits button on the toolbar.

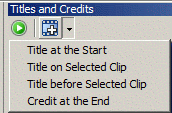
There are two buttons on the Titles and Credits toolbar. The Preview button demonstrates the currently selected Template in the Preview Window. The Add to Clip button adds the currently selected to the selected clip in the Storyboard. (The selected clip is the last one clicked on and is marked with a gray or black border.) Clicking the arrow next to Add to Clip opens a special menu for adding text to the Storyboard:

There are four options in this menu:
- Title at the Start: This adds the selected title effect as a new clip at the very beginning of the Storyboard, before any existing clips.
- Title on Selected Clip: This is identical to clicking the Add to Clip button itself. Text is visible "on top" of the selected clip.
- Title before Selected Clip: The selected Template is added as a new clip on the Storyboard, placed just before the selected clip.
- Credit at the End: The Template is added as a new clip, which is the last clip in the Storyboard, after all the existing clips.
Right-clicking on a Template opens an Options menu, which has two selections: Add to clip and Preview. These work exactly like the two buttons in the toolbar.
For more about how to use the text templates, see Titles and Credits.
|