Upload Media Files
WebCam Monitor allows you to upload video recordings and photos automatically, delete files as soon as they are uploaded and overwrite photo files with a specific filename.
To configure FTP Upload settings, click Add Webcam >> Actions >> Upload Media files.
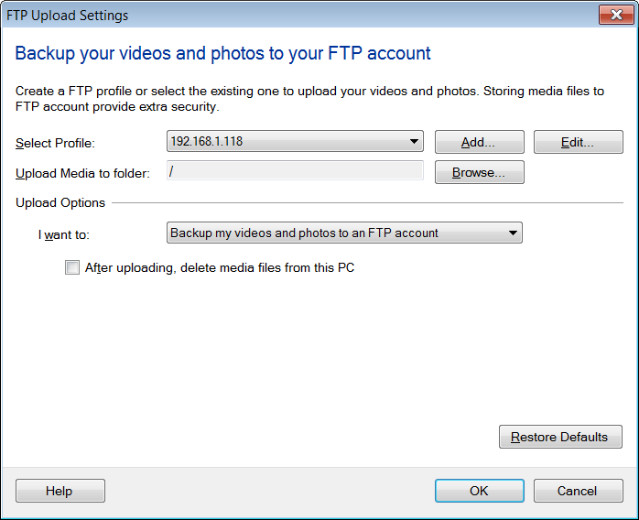
Click on Add button to create a new FTP profile. To Edit FTP account settings, select the FTP Profile from the drop down.
Creating a new FTP Profile
FTP Profiles define how to connect to a server and where to copy the files. To learn how to configure FTP Settings, click here.
Upload Media to folder
This is the remote folder where WebCam Monitor will upload your video recording and photo files. WebCam Monitor uses the default folder when you log in to the FTP server. You can choose a different FTP folder by clicking on Browse which opens a FTP Folder Browser dialog.
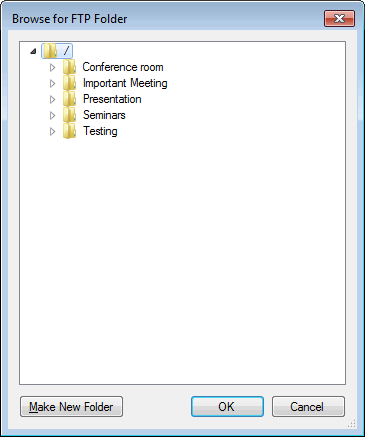
The FTP Folder Browser dialog shows a directory list in a tree structure. The default FTP folder that is specified by the server is specified by the root i.e., '/'. You can create a new remote folder using the Make New Folder button. Select the FTP folder that you want, and click OK.
Upload options
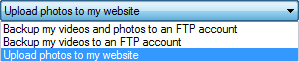
I want to: Upload either Photos, Video or Both when alerts are triggered. Depending on the option selected from the drop down, WebCam Monitor starts uploading your video and photo files whenever an alert is triggered. By default, Backup Videos and Photos to an FTP account is selected. You can upload only videos or photos also.
Upload behavior
After uploading, delete files from this PC: After uploading to the server, WebCam Monitor deletes the files from your local computer, thus freeing the disk space.
Change the image size to: If this option is checked then while uploading, the image file will be resized it to the selected dimension from the following drop down:
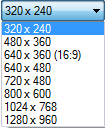
When this option is unchecked, image files will be uploaded with the same dimension as the camera resolution.
Rename photo files to: You can choose the filename to save your photo(s) on the FTP server by checking Rename photo files to option. If this option is unchecked then photos will be uploaded by their original name.
Rules to rename a file:
- Overwrite, if file with same already present: To view a single and the most recent alert image on a webpage, use overwrite rule. If a file with same name is already present in upload media folder then the old file will be replaced with the new one. This will help you to maintain and view only the updated photos on your website.
- Append date and time while uploading: When this option is selected then after the filename, application will append date and time when it took the photo. This will help you to maintain an image history.
- Append sequence number between 1 to N: Use this option to have a collection of N most recent images. A number is appended after the photo filename and increased by one, after each successful upload. Once the counter reaches the defined value N, it is reset to 1 and starts from the beginning.
|