You can easily configure
Security Monitor Pro to receive photos from your IP cameras on your schedule.
Here are the steps:
1. Add your IP camera and go to Edit Camera >> Actions tab
2. Select 'At regular intervals' and enter 40 minutes

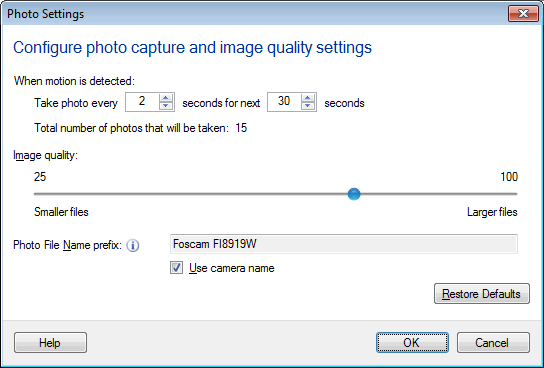
3. Select 'Take Photo' action. Click on 'Configure' button to set the number of photos you want to take. You can take a maximum of 60 photos.

4. Next, select 'Email notifications' enter all the details, make sure to send a test email, then click OK.
5. Select 'Upload Media Files' and enter the details for the FTP account, save it and click OK.
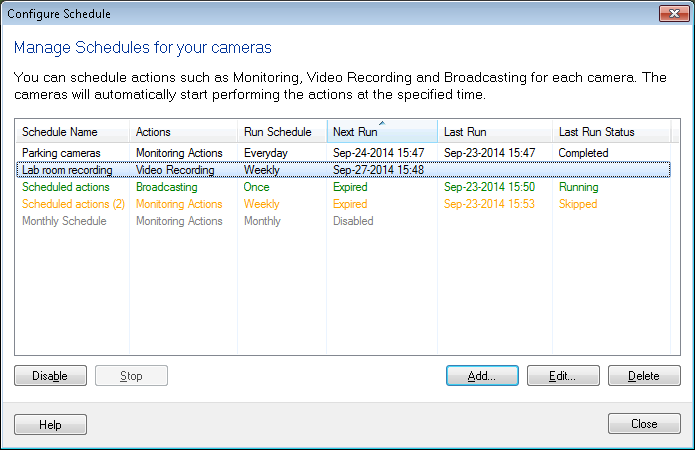
6. Now, just add a 'Weekly' schedule by clicking on 'Scheduler' icon on tool bar.

Select the option 'Monitoring Actions selected in camera settings', then select the cameras for which you want to run the schedule. Select all the days except Saturday and Sunday, enter start date and time and the number of hours to run a schedule, for example 9AM start and run for 8 hours.
When the schedule launches, monitoring actions will be performed at regular intervals of 40 minutes. You will receive an email every 40 minutes with a photo. The number of photos which you have set earlier will be uploaded to the FTP account every 40 minutes.

