| Email Responder Manager: Creating Groups |
Email Responder Manager: Creating Groups
When mail arrives, Email Responder Manager analyzes it and can automatically assign it based on Rules. A message can be assigned to either an individual user or to a group. A group is a set of user accounts defined by the Administrator.
There are two advantages to assigning mail to Groups rather than individual users:
- When a team is responsible for replying, all team members can see new messages as they come in, and see replies made by anyone within the group. This guarantees the shortest possible response time.
- Managing user settings is simpler. You can maintain the send/receive settings for whole groups, instead of editing each user account.
To work with groups click the File >> Groups. The Groups window appears:

To create a new Group, click Add.

Type a unique name for the Group into the Group Name field. Be sure the name is short enough that it will be visible in the Email Responder client window. Select one or more users to belong to the group, and click Next. The Assign Email Account screen appears.
When you create a Group, it can be linked to one or more of your email addresses.

Members of a Group can only send email from a particular address when the Send option is selected.
When you are finished maintaining groups, click Finish.
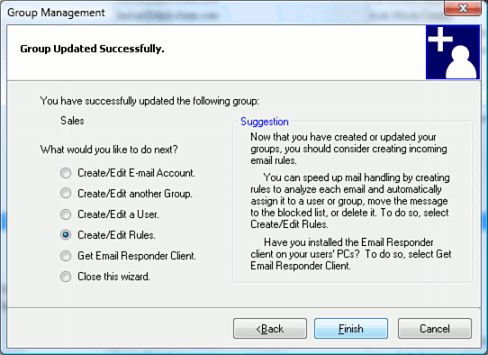
Choose what action you would like to perform, and click Finish.
|