| Email Responder: Product/Service Settings |
Email Responder: Product/Service Settings
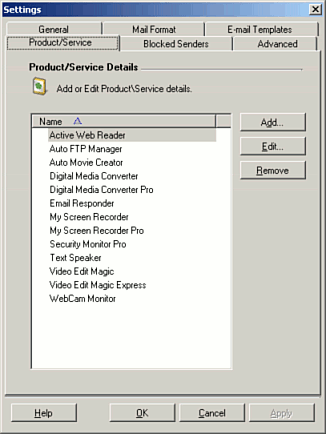
Email Responder intelligently determines which of your organization's products or services is the topic of each message, and uses this information to automatically replace Smart Fields with the correct information (such as support URL and product name). In order to do this, the program needs a list of the products and services. The Product/Services tab of the Settings window lets you create and update this list.

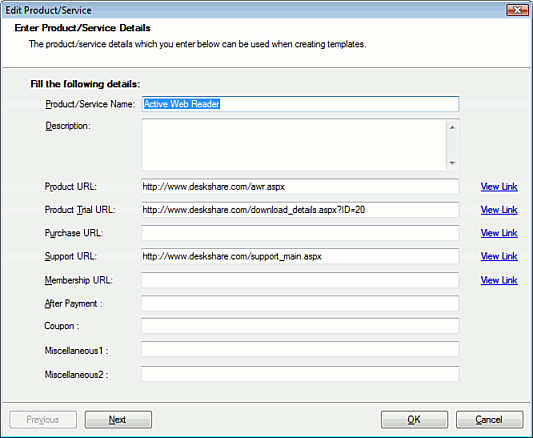
To create a Product/Service, click Add. The Enter Details window will open.

Complete the form. You can leave a field (other than the Product/Service Name) blank, but if you do, when a Smart Field referring to that field is used in a Template, it will be replaced by nothing when sending mail, so be careful. For the URL fields, after entering the Internet address, use the View Link link to confirm that the URL links to the correct web page. The Copy From button allows you to copy all the information from another product, which can be useful if a lot of it is the same for a product line. For instance, if you want all your email to refer to the same Support and Purchase URLs, using Copy From saves you from typing those values for every product. Copy From does not copy the Product/Service Name or the Description.
When you've entered all the information, click OK.
To edit an existing Product or Service, select it in the list and click Change. To delete one, select it and click Remove.
|